mail_outline sales@mediastorehouse.com
spa1962 bw neg pro 027 edited-1spa_bw_neg_pro_ 027
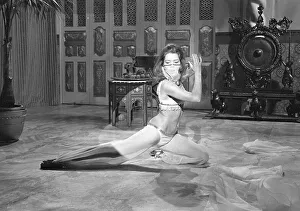
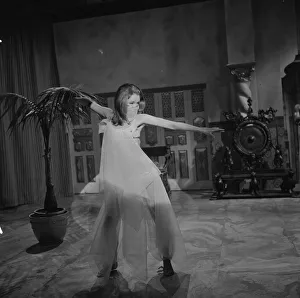
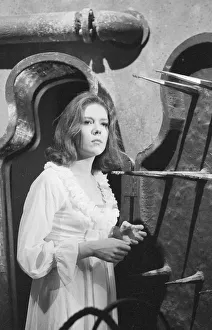
Mrs Peels seven veils
Emma Peel dances
The Avengers Series 4: Honey for the Prince
Mrs Peel dances for the prince
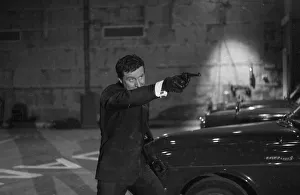
ave4 ddn bw neg 012Dial A Deadly Number, ave4 ddn bw neg 012
The Avengers Series 4: Death at Bargain Prices
Filming The Avengers
The Avengers Series 4: Castle De ath
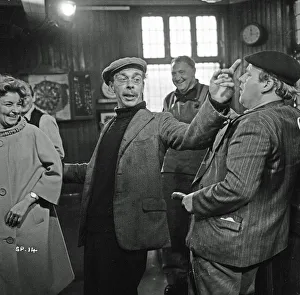
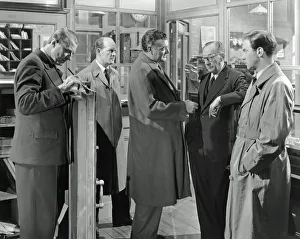
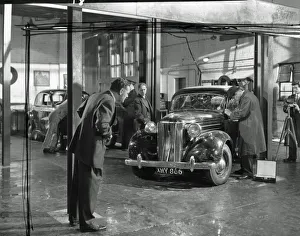
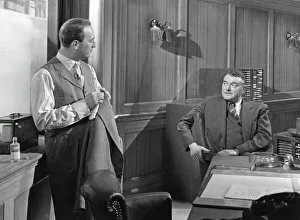
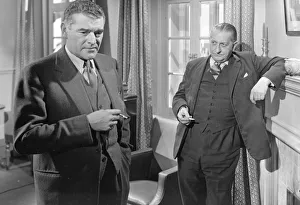
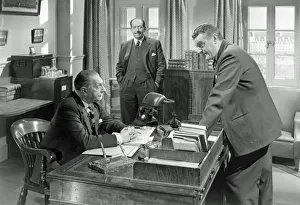
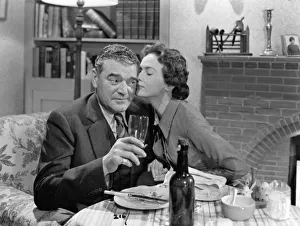
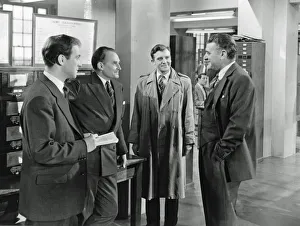
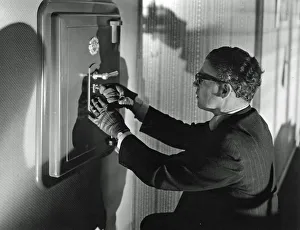
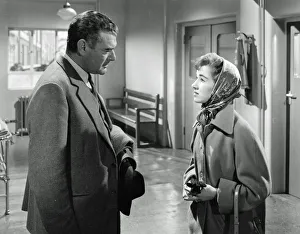
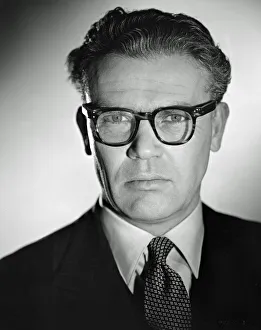
log1956 bw pri 026 edited-1LONG ARM, THE (1956), log1956 bw pri 026 edited-1
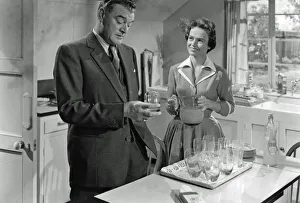
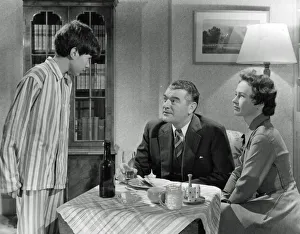
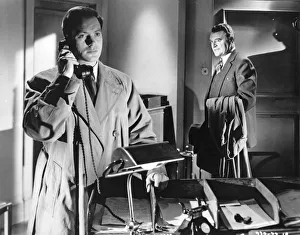
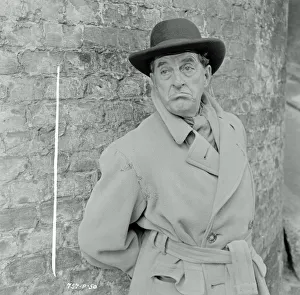
log1956 bw pri 001 edited-1LONG ARM, THE (1956), log1956 bw pri 001 edited-1
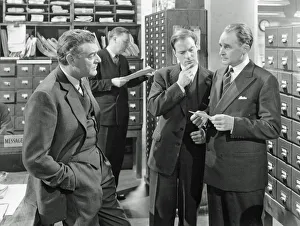
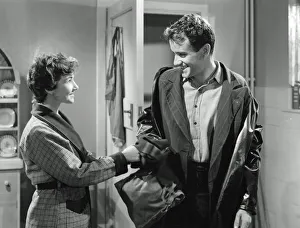
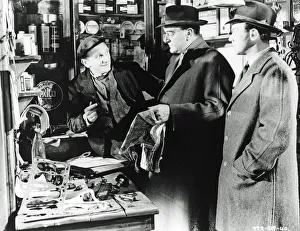
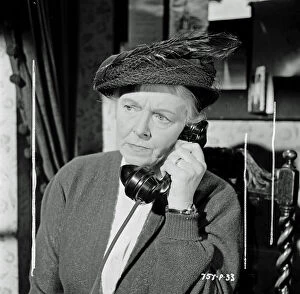
log1956 bw pri 003 edited-1LONG ARM, THE (1956), log1956 bw pri 003 edited-1
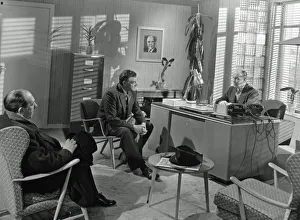
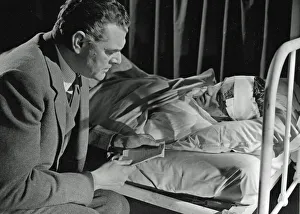
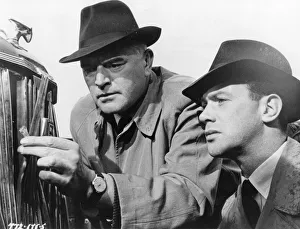
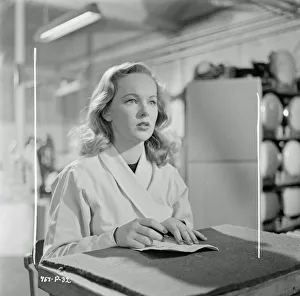
log1956 bw pri 004 edited-1LONG ARM, THE (1956), log1956 bw pri 004 edited-1
log1956 bw pri 005 edited-1LONG ARM, THE (1956), log1956 bw pri 005 edited-1
log1956 bw pri 007 edited-1LONG ARM, THE (1956), log1956 bw pri 007 edited-1
log1956 bw pri 008 edited-1LONG ARM, THE (1956), log1956 bw pri 008 edited-1
log1956 bw pri 009 edited-1LONG ARM, THE (1956), log1956 bw pri 009 edited-1
log1956 bw pri 011 edited-1LONG ARM, THE (1956), log1956 bw pri 011 edited-1
log1956 bw pri 012 edited-1LONG ARM, THE (1956), log1956 bw pri 012 edited-1
log1956 bw pri 013 edited-1LONG ARM, THE (1956), log1956 bw pri 013 edited-1
log1956 bw pri 017 edited-1LONG ARM, THE (1956), log1956 bw pri 017 edited-1
log1956 bw pri 018 edited-1LONG ARM, THE (1956), log1956 bw pri 018 edited-1
log1956 bw pri 020 edited-1LONG ARM, THE (1956), log1956 bw pri 020 edited-1
log1956 bw pri 021 edited-1LONG ARM, THE (1956), log1956 bw pri 021 edited-1
log1956 bw pri 023 edited-1LONG ARM, THE (1956), log1956 bw pri 023 edited-1
log1956 bw pri 024 edited-1LONG ARM, THE (1956), log1956 bw pri 024 edited-1
log1956 bw pri 025 edited-1LONG ARM, THE (1956), log1956 bw pri 025 edited-1
log1956 bw neg 027 editLONG ARM, THE (1956), log1956 bw neg 027 edit
Stanley Holloway as Mr. Hollingsworth in Meet Mr. Lucifer (1953)
Jean Cadell as Mrs. MacDonald in Meet Mr. Lucifer (1953)
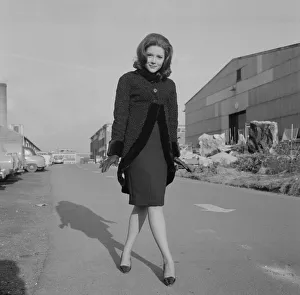
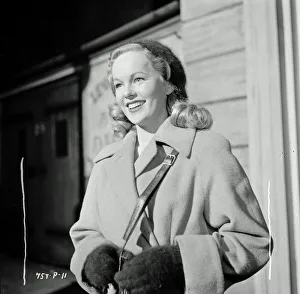
Peggy Cummins as Kitty in Meet Mr. Lucifer
A smiling Peggy Cummins as Kitty in Meet Mr. Lucifer
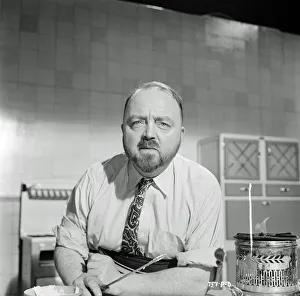
Philip Harben in his appearance in Meet Mr. Lucifer (1953)
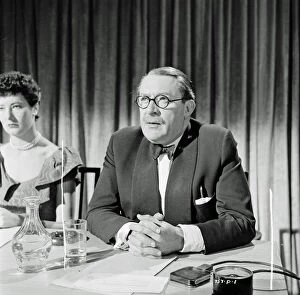
Gilbert Harding in his appearance in Meet Mr. Lucifer (1953)
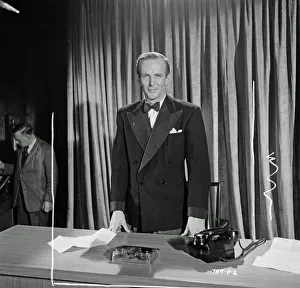
MacDonald Hobley in his appearance in Meet Mr. Lucifer
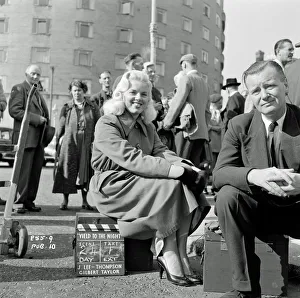
A smiling Diana Dors during filming of Yield to the Nightsitting next to the actress during a pause of the shoot is director J. Lee Thompson
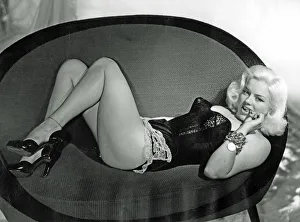
A portrait of sultry Diana Dorsfor the release of Yield to the Night in 1956
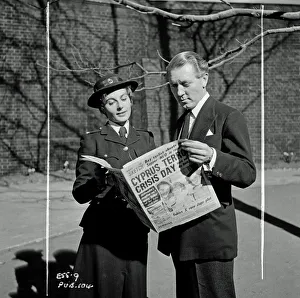
Checking the news on the set of Yield to the nighta publicity shot of actress Yvonne Mitchell and producer Kenneth Harper taken at Elstree Studios in 1956
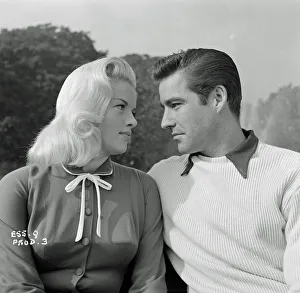
A portrait of Diana Dors and Michael Craigwho played Mary Hilton and Jim Lancaster in Yield To The Night directed by J. Lee Thompson in 1956
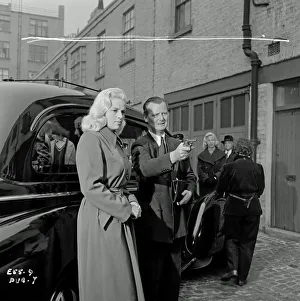
J. Lee Thompson directs Diana Dorson location at Belgrave Mews in London during the filming of Yield to the Night
Mary Hilton and Jim Lancasterthe characters played by Diana Dors and Michael Craig in a scene shot at Hyde Park for Yield to The Night in 1956
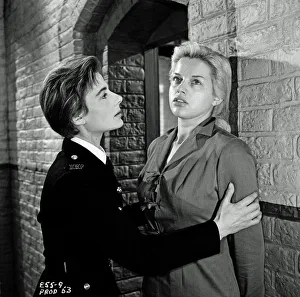
Yvonne Mitchell and Diana Dorsas prisoner officer Macfarlane and Mary Hilton in Yield To The Night. The film was based on a book by Joan Henry
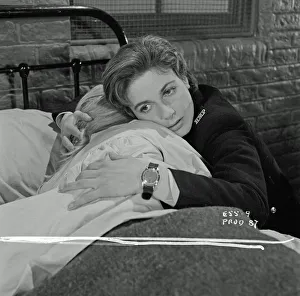
A scene from Yield to the Night (1956)with Yvonne Mitchell as prisoner officer MacFarlane
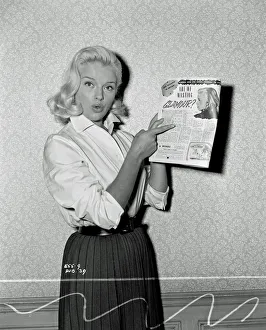
A humorous portrait of Diana Dorswith a copy of an article about glamour and British Cinema written by Dick Richards
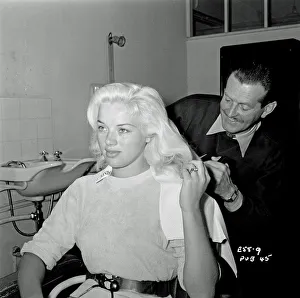
Diana Dors at Elstree Studioswith Studio hairdresser A.G. Scott during the filming of Yield to the Night in 1956
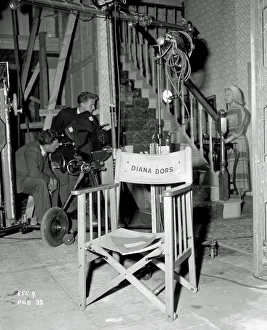
Diana Dors chair on the set of Yield to the Nightproduced for ABPC at Elstree Studios in 1956
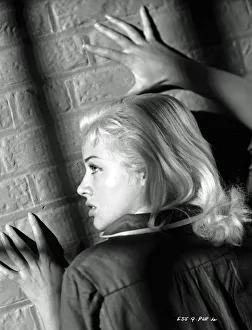
Diana Dors as Mary Hiltonin a portrait taken for the release of the drama Yield to the Night written by Joan Henry and John Cresswell
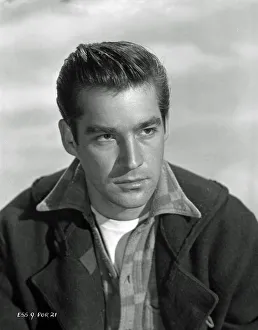
An image of Michael Craigwho played the character Jim Lancaster in J. Lee Thompsons Yield to the Night in 1956